
Z-Line TV Stand Instructions: A Comprehensive Guide
This guide provides detailed steps for assembling your Z-Line TV stand, ensuring a secure and aesthetically pleasing display for your television, utilizing available resources.
Understanding Your Z-Line TV Stand
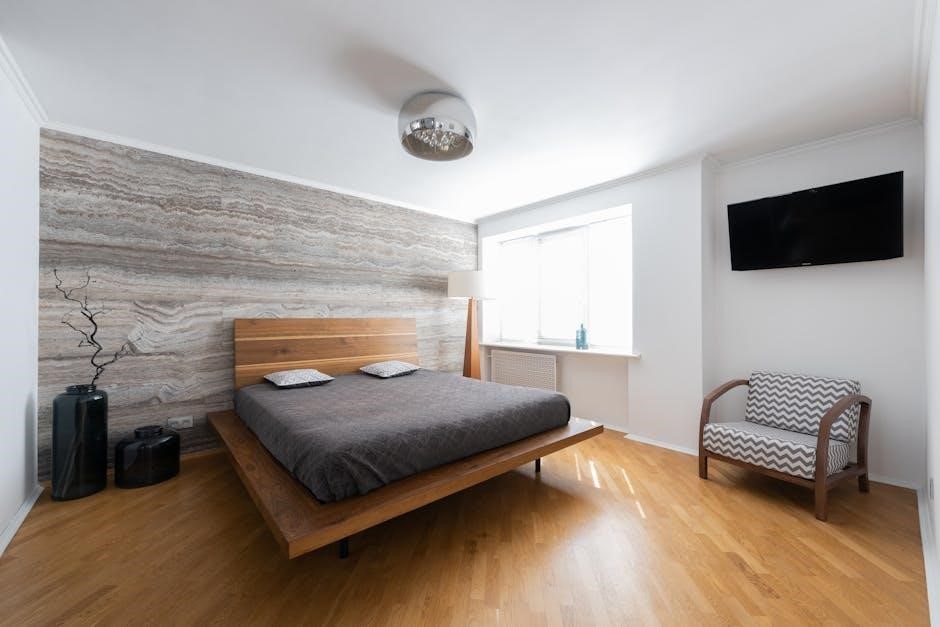
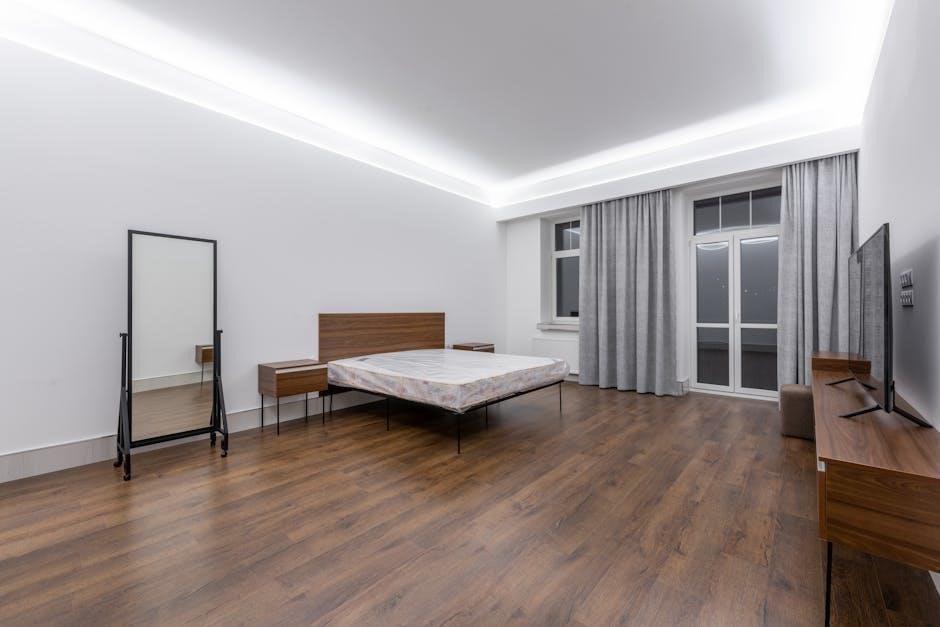
Your new Z-Line TV stand is designed for both functionality and style, offering a modern solution for displaying your television and associated media components. These stands often feature a sleek aesthetic, incorporating materials like tempered safety glass and durable metal framing.
Before beginning assembly, familiarize yourself with the stand’s overall structure and intended use. Z-Line designs cater to various TV sizes and configurations, so understanding your specific model is crucial. The stands are designed to accommodate various components, and often include cable management systems for a clean appearance. Proper assembly ensures stability and maximizes the lifespan of your investment, as highlighted in available assembly videos.
Unboxing and Inventory
Carefully unpack all components from the shipping carton, taking care not to damage any parts with sharp objects. Lay out all pieces on a protected surface, such as a drop cloth or cardboard, to prevent scratches.
Cross-reference the included parts list with the physical components to ensure everything is present. Note any discrepancies immediately. The parts list details each panel, hardware item (screws, bolts, etc.), and any specialized pieces. Missing hardware can be addressed through warranty support or your Z-Line Designs dealer. Documenting the inventory upfront streamlines the assembly process and avoids delays later on.
Identifying Components
Familiarize yourself with each component before beginning assembly. The Z-Line TV stand consists of various panels forming the base, vertical supports, and shelving units. Understanding their designated positions is crucial.
Panel Identification: Each panel is typically labeled with a sticker or code. Refer to the parts list to match these labels with their corresponding names (e.g., Base Panel, Side Panel). Hardware Checklist: Separate and identify all hardware. Screws come in different sizes; the parts list will specify which screw to use for each step. Organizing hardware prevents confusion and ensures correct assembly.
Panel Identification
Each panel within your Z-Line TV stand kit is clearly marked for easy identification during assembly. Locate the stickers or printed codes affixed to each piece; these correspond directly to the parts list included in your packaging.
Common panel designations include “Base Panel,” forming the foundation, “Side Panels” establishing vertical structure, “Shelves” for storage, and “Upper Mounting Panel” for TV attachment. Carefully cross-reference these codes with the diagrams in the instructions to avoid misplacement. Accurate panel identification is the cornerstone of a successful assembly process, preventing errors later on.
Hardware Checklist
Before commencing assembly, meticulously verify all hardware components against the provided parts list. This crucial step prevents frustrating delays mid-construction. Expect various screws – likely identified by length and head type (Phillips, flathead) – alongside dowels, cam locks, and potentially specialized mounting brackets.

Confirm quantities match the list precisely. Small parts are easily misplaced, so a thorough check is essential. Separate hardware into labeled containers for streamlined access during each assembly stage. Missing hardware can be addressed through Z-Line’s support channels, ensuring a complete and structurally sound TV stand.
Tools Required for Assembly
Successful assembly of your Z-Line TV stand necessitates a few essential tools. A Phillips head screwdriver is paramount, potentially in multiple sizes to accommodate varying screw types. A flathead screwdriver may also be required for specific components. Consider utilizing a power drill with adjustable clutch settings to expedite screw insertion, but exercise caution to avoid over-tightening.
Additionally, a rubber mallet proves invaluable for gently tapping pieces into place, while a level ensures the finished stand is stable and visually appealing. A measuring tape can assist with alignment, and protective gloves are recommended to safeguard your hands during the process;
Safety Precautions
Prioritize safety throughout the Z-Line TV stand assembly process. Always work in a spacious, well-lit area, free from obstructions. Wear safety glasses to protect your eyes from potential debris. If using power tools, adhere strictly to the manufacturer’s instructions and wear appropriate hearing protection.
Exercise caution when lifting heavier components; seek assistance if needed to prevent strain or injury. Keep small parts away from children and pets to avoid choking hazards. Regularly inspect tools for damage before use, and never operate faulty equipment. Ensure the stand is placed on a level surface to prevent tipping.

Step-by-Step Assembly Instructions
Begin by carefully following the provided diagrams. First, attach the base frame components using the designated screws, ensuring a snug fit. Next, mount the vertical supports to the base, verifying alignment before tightening. Proceed to install shelves and cabinets, referencing the manual for correct placement and hardware.
Pay close attention to cable management during installation. Utilize the integrated system to neatly organize cords and prevent tangling. Double-check all connections and tighten screws periodically. Refer to online assembly videos for visual guidance if needed, ensuring a stable and functional TV stand.
Attaching the Base Frame
Start by laying out all base frame components on a protected surface. Identify the left and right side panels, and the connecting support beams. Align the pre-drilled holes and secure them using the provided screws – typically identified in the hardware checklist.
Ensure the frame is square and level before fully tightening the screws. A slightly uneven surface can compromise stability. Double-check all connections, applying even pressure to avoid stripping the screw heads. This foundational step is crucial for the overall structural integrity of your Z-Line TV stand.
Mounting the Vertical Supports
Carefully position the vertical support panels onto the assembled base frame. Align the mounting holes, ensuring they correspond with those on the base; Utilize the appropriate screws – consult the hardware checklist for correct sizing – to secure the supports firmly.
Apply consistent pressure while tightening to prevent misalignment. These supports are vital for bearing the weight of both the TV and any shelving or cabinets. Verify the supports are perfectly vertical using a level before proceeding. A stable foundation here prevents wobbling and ensures long-term durability.
Installing Shelves and Cabinets
Begin by carefully sliding the shelves into their designated slots within the vertical supports. Ensure they are fully seated and level before adding any weight. For cabinets, align the cabinet frames with the pre-drilled holes on the supports.
Secure cabinets using the provided cam locks or screws, tightening them firmly but avoiding over-tightening which could damage the particleboard. Double-check that all shelves and cabinets are securely fastened and level. Proper installation is crucial for weight distribution and overall stability of the Z-Line TV stand.
Cable Management System Installation
Locate the cable management openings, typically found at the rear of the Z-Line TV stand. Thread your power cables, HDMI cables, and other connections through these openings to conceal them from view; Utilize the provided cable ties or clips to bundle and organize the cables neatly.
Ensure cables are not pinched or strained, allowing for sufficient slack; Some models feature integrated cable channels or covers; secure these after routing the cables. A well-organized cable system enhances the aesthetic appeal and prevents accidental disconnections, contributing to a cleaner entertainment setup.
Mounting Mechanism Installation
Begin by carefully attaching the upper mounting panel to the mount mechanism, aligning the pre-drilled holes. Securely fasten them using the appropriate screws provided in the hardware kit – do not overtighten. Double-check the alignment to ensure a stable and level mounting surface for your television.
Next, firmly attach the assembled mount mechanism to the vertical supports of the TV stand. Again, utilize the designated screws and ensure they are tightened sufficiently for a secure hold. This step is crucial for safely supporting the weight of your TV, so verify stability before proceeding.
Upper Mounting Panel Attachment
Carefully position the (14) Upper Mounting Panel onto the (13) Mount Mechanism, ensuring precise alignment with the pre-drilled holes. This alignment is critical for a secure and stable television mounting experience. Use the screws specifically designated for this connection, as indicated in the hardware checklist.
Securely fasten the panel to the mechanism, tightening the screws gradually in a criss-cross pattern. Avoid over-tightening, which could potentially damage the panel or strip the screw holes. Confirm a flush and firm connection before moving to the next assembly stage, ensuring structural integrity.
Mount Mechanism Securement
Once the Upper Mounting Panel is firmly attached to the Mount Mechanism, it’s time to secure the entire assembly to the TV stand’s vertical supports. Locate the designated mounting points on the supports, typically pre-drilled holes designed to accommodate the mechanism’s base plate.
Utilize the appropriate screws from your hardware kit to fasten the mechanism securely to the supports. Again, a criss-cross tightening pattern is recommended to distribute pressure evenly. Double-check that all screws are tightened firmly, but not excessively, to prevent damage and ensure a stable, wobble-free platform for your television.
TV Mounting Considerations
Before mounting your television, carefully verify VESA compatibility. The VESA standard dictates the spacing of mounting holes on the back of your TV. Ensure your Z-Line stand’s mount mechanism supports your TV’s specific VESA pattern.

Equally crucial is understanding the weight capacity limits of the stand. Exceeding this limit can lead to instability and potential damage. Consult your TV’s specifications and compare it to the stand’s maximum weight rating. Prioritize safety by selecting a stand capable of supporting your television’s weight securely.
VESA Compatibility
VESA (Video Electronics Standards Association) compatibility is paramount for a secure TV mount. This standard defines the mounting hole pattern on the rear of televisions. Z-Line stands support a range of VESA patterns, typically expressed in millimeters (e.g., 200x200mm, 400x400mm).
To determine your TV’s VESA pattern, measure the horizontal and vertical distance between the mounting holes; Confirm that your Z-Line stand’s mounting bracket accommodates this pattern. If your TV’s VESA pattern isn’t directly supported, adapter plates are available for purchase, ensuring compatibility and a safe installation.
Weight Capacity Limits
Adhering to the weight capacity limits is crucial for the stability and safety of your Z-Line TV stand. Exceeding the specified weight can lead to stand failure, potentially damaging your television and causing injury. Each Z-Line model has a designated maximum weight capacity, clearly stated in the product specifications.
Before mounting your TV, verify its weight (without the stand). Ensure it falls within the stand’s weight limit. Consider any additional weight from soundbars or other accessories you plan to place on the stand. Regularly inspect the mounting mechanism for any signs of stress or wear.
Adjusting and Leveling the Stand
Proper adjustment and leveling are essential for a stable and visually appealing Z-Line TV stand setup. Begin by placing the assembled stand on its final location. Use a level to check for any unevenness across the base. Most Z-Line stands feature adjustable feet; rotate these feet to raise or lower corners until the stand is perfectly level.
A wobbly stand can indicate improper leveling or loose connections. Re-tighten all screws and bolts, then re-check the level. Leveling ensures optimal weight distribution, preventing stress on the stand’s components and enhancing overall safety. Consistent monitoring is recommended, especially after moving the stand.
Troubleshooting Common Issues
Encountering problems during or after assembly is common. A wobbly stand often stems from uneven flooring; adjust the feet as detailed in the leveling section. If hardware is missing, contact Z-Line Designs’ support (see Warranty Information) for replacements – do not substitute parts.
For mounting difficulties, double-check VESA compatibility and weight limits. Ensure all screws are correctly sized and tightened. If issues persist, consult online assembly videos or FAQs. Prioritize safety; never force components. Addressing these common issues promptly ensures a secure and enjoyable viewing experience with your Z-Line TV stand.
Wobbly Stand Solutions
A wobbly Z-Line TV stand is frequently caused by uneven floor surfaces. Begin by carefully inspecting the floor where the stand is placed. Utilize adjustable feet, if equipped, to level the stand by rotating them until stability is achieved. If adjustable feet aren’t sufficient, consider using furniture leveling shims placed discreetly under the base.
Ensure all screws and bolts are tightened securely, but avoid over-tightening, which could damage the components. Re-check the base frame and vertical support connections. If wobbling continues, verify the TV is centered on the mounting mechanism for balanced weight distribution.
Missing Hardware Replacement
If you discover missing hardware during assembly, do not proceed until replacements are obtained. First, carefully re-examine the packaging materials – small parts are often concealed within. Contact Z-Line Designs customer support immediately, providing your model number and a detailed list of the missing components.
Alternatively, reach out to your Z-Line Designs dealer; they can often expedite hardware replacements. As a temporary solution, you might use appropriately sized screws from a hardware store, but ensure they do not compromise the stand’s structural integrity or warranty. Document any substitutions made.

Warranty Information and Support
Z-Line Designs provides a warranty against manufacturing defects on all TV stands. The warranty period varies by product, so retain your purchase receipt for verification. Your Z-Line Designs dealer serves as the initial point of contact for warranty claims, streamlining the process.
To initiate a claim, contact your dealer with proof of purchase and detailed descriptions of the defect, including photographs if possible. Z-Line Designs, Inc. reserves the right to inspect the product and determine the validity of the claim. Warranty coverage does not extend to damage caused by misuse or improper assembly.
Contacting Z-Line Designs
For direct assistance or inquiries regarding your Z-Line TV stand, reaching Z-Line Designs is crucial. While your dealer is the primary warranty contact, Z-Line Designs offers support for general questions and specific issues not handled locally. Unfortunately, specific contact details (phone number, email) aren’t readily available in the provided snippets.
However, exploring the Z-Line Designs official website is the best starting point. Look for a “Contact Us” or “Support” section, which typically lists contact information and frequently asked questions. You may also find helpful resources, such as assembly videos and downloadable manuals, to resolve common issues independently.
Warranty Claim Procedures
To initiate a warranty claim for your Z-Line TV stand, it’s essential to work through your original Z-Line Designs dealer. They act as the intermediary, streamlining the process and ensuring proper documentation. The provided information emphasizes that following their instructed procedures is key to a successful claim.
Typically, this involves submitting proof of purchase, a detailed description of the defect, and potentially photographic evidence. Your dealer will then forward this information to Z-Line Designs for review. Be prepared to cooperate fully with both parties throughout the claim process, providing any additional information requested promptly.
Z-Line Designs Dealer Support
Your local Z-Line Designs dealer is a vital resource throughout your TV stand experience. They are your primary point of contact for initial support, assembly guidance, and crucially, warranty claim assistance. Dealers possess in-depth knowledge of Z-Line products and can often resolve common issues quickly and efficiently.
They serve as a mutual partner with Z-Line Designs in supporting your requests, ensuring a smooth process. Don’t hesitate to reach out to your dealer with any questions or concerns – they are equipped to provide expert advice and facilitate communication with the manufacturer when needed, maximizing your satisfaction.
Zoom Integration for Remote Assistance (Optional)
For customers desiring enhanced support, Z-Line Designs may offer optional Zoom integration for remote assembly assistance. This feature allows a Z-Line representative to visually guide you through the assembly process in real-time, addressing challenges as they arise. Utilizing Zoom’s screen-sharing capabilities, the representative can pinpoint specific steps and offer personalized instructions.
This service leverages Zoom’s cloud-based platform for secure, high-definition video conferencing, ensuring clear communication. While not a standard offering, it provides a valuable solution for those who prefer hands-on guidance, streamlining the assembly experience and minimizing frustration.
Additional Resources and FAQs

To further assist with your Z-Line TV stand assembly, a wealth of resources are readily available online. Numerous assembly videos demonstrate each step visually, clarifying any ambiguities in the printed instructions. These videos often showcase common troubleshooting techniques, addressing potential issues proactively.
A comprehensive Frequently Asked Questions (FAQ) section tackles common concerns, ranging from hardware identification to leveling adjustments. Z-Line Designs’ website hosts these resources, ensuring easy access. Exploring these materials can significantly expedite the assembly process and resolve minor complications independently, maximizing your satisfaction.
Online Assembly Videos
Visual learners will find numerous online assembly videos invaluable. These resources demonstrate the entire Z-Line TV stand construction process, step-by-step, offering a clear understanding of each stage. Videos often highlight critical connection points and proper hardware usage, minimizing errors during assembly.
Platforms like YouTube host detailed guides, including one from DeLo Enterprises showcasing universal TV stand installation. These videos allow you to pause, rewind, and re-watch sections as needed, ensuring complete comprehension. Utilizing these visual aids can significantly reduce assembly time and frustration, leading to a successful outcome.
Frequently Asked Questions
Many common questions arise during Z-Line TV stand assembly. Users often inquire about locating PDF instructions or manuals for their specific model. Others seek clarification on component identification, particularly panels and hardware. A frequent concern involves dealing with missing parts, prompting questions about replacement procedures.
Additionally, questions regarding VESA compatibility and weight capacity limits are common, ensuring safe TV mounting. Troubleshooting issues like wobbly stands also generates frequent inquiries. Addressing these FAQs proactively streamlines the assembly process and provides users with readily available solutions to potential challenges, enhancing overall satisfaction.

Care and Maintenance
To preserve the appearance and longevity of your Z-Line TV stand, regular care is essential. Cleaning should involve a soft, damp cloth to wipe down surfaces, avoiding harsh chemicals or abrasive cleaners. Preventative maintenance includes periodically checking and tightening all screws and bolts, ensuring structural stability.
Furthermore, avoid placing excessively heavy objects on the stand beyond its specified weight capacity. Protect the finish from direct sunlight and extreme temperatures; Consistent, gentle upkeep will maintain the stand’s aesthetic appeal and functional integrity for years, maximizing your investment and enjoyment.
Cleaning Instructions
Maintaining your Z-Line TV stand’s appearance is simple with the correct cleaning approach. Begin by dusting the entire surface with a soft, dry cloth to remove loose particles. For more thorough cleaning, dampen a clean cloth with lukewarm water and a mild detergent – avoid abrasive cleaners!
Gently wipe down all surfaces, paying attention to areas prone to fingerprints or spills; Immediately dry the stand with a separate, clean cloth to prevent water spots or damage. Never spray liquids directly onto the stand; always apply to the cloth first. Regular dusting and occasional damp wiping will keep your stand looking its best.
Preventative Maintenance Tips
To ensure the longevity of your Z-Line TV stand, implement these preventative measures. Periodically check all screws and bolts, tightening them as needed to maintain stability. Avoid placing excessively heavy objects on the stand beyond its weight capacity. Protect the surface from direct sunlight and extreme temperatures, which can cause fading or warping.
Regularly inspect the cable management system, ensuring cables are neatly organized and not causing strain. When cleaning, always use appropriate cleaning solutions as detailed in the cleaning instructions. By following these simple tips, you’ll safeguard your investment and enjoy your Z-Line TV stand for years to come.